Recycled DIY bird feeders
There’s something about seeing birds, wild animals and insects in the garden

Adding a bird feeder to your garden to encourage birds to visit is easy.
Encouraging your kids to get outside and interact with nature is somewhat more difficult these days!
Once they are out there, though, there’s something about seeing birds, wild animals and insects in the garden that gets a child’s endorphins rushing around like crazy!
So why not plan activities that allow them time outdoors, to watch and learn how amazing nature is? Let them get messy, with a fun, nature-oriented activity!
One such activity is a simple bird feeder that is not only cost effective and easy to make, but allows for maximum input from your kids, and will give them the motivation to be outside.
A cardboard bird feeder is the perfect DIY project for any time of year.
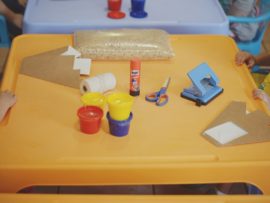
What you’ll need:
• Sandwich box or boxes, depending on how many you plan on making
• Birdseed
• String
• Scissors
• A punch
• Finger paints
• Glue
Step 1: Buying the materials
Buy a bag of birdseed at your nearest garden centre. Search for recycled cardboard sandwich boxes or purchase some from your local packaging store. Purchase a ball of string, a pair of scissors and a punch.
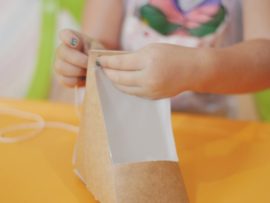
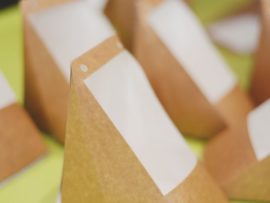
Step 2: Box it up
Put the sandwich box together and ensure the top section has a wide gap for the seed. You may need to secure the box properly with some glue, in order for there to be no gaps where the bird seed can fall out. Do so by placing glue on all the folded edges and then seal them up. Punch two holes at the top of the sandwich box through which you can thread the string.
Step 3: String it all together
Thread the string through the holes and tie a knot. Make sure the string is long enough to make a loop at the end for your bird feeder to hang off the branches.
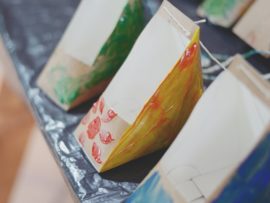
Step 4: Let’s get creative
Using fingers, get messy and creative by painting some beautiful patterns on the outside of your sandwich box. Kids love to make a gooey mess, so let them have fun – just keep some wet wipes handy for cleaning up.
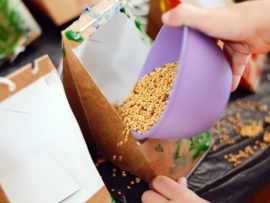
Step 5: Dry it out
Put your boxes outside in the sun to dry. Once dry you can fill your boxes with birdseed. Make sure you put a decent amount of feed in the box so that there is plenty food for all the neighbourhood chirpers.
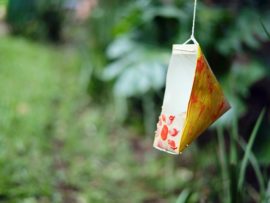
Step 6: Hang it up
Look for the perfect spot to hang your bird feeder. Find a branch that will be strong enough to support your new friends, and where your feeder will be visible for the birds to find.
Step 7: List your birds
If you have older children in the family, why not get them to help the little ones identify and list the birds that visit the new feeder!
Remember: The bird feeders are made out of cardboard, so in order for them to endure the weather, you may want to hang them on a veranda, or bring them inside when the weather is bad.


For more information on bringing Life to your Garden, visit our website www.lifeisagarden.co.za or join the conversation on our Facebook page: www.facebook.com/lifeisagardensa


