BlogsLocal newsNewsOpinion
Kids Activity November – Tin can light art
With summer around the corner and the weather starting to heat up nicely in the evenings, our verandahs and decks are once again becoming useful.

The warmer nights are great for family braais or picnics under the stars. It’s always more fun turning the lights off and making use of some candles – it’s also a great way to save electricity, especially with the shortages that South Africa is currently experiencing.
These fun tin can lights provide the perfect light for such occasions, and also add atmosphere with their attractive designs. This a great activity for older kids, who can do all the steps on their own, but the younger kids might need some help from an adult.
What you will need:
- Water
- A tin can (cleaned out and the paper label removed)
- A hammer
- An old towel
- A permanent marker
- A sheet of plastic (an old, unused plastic folder will do)
- Scissors
- Prestik
- Rubber band
- Ruler
- Wire cutters
- Pliers
- Nails
- Thin wire
- Tea-light candles
- Some small gloves for the child
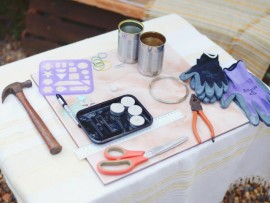

What to do:
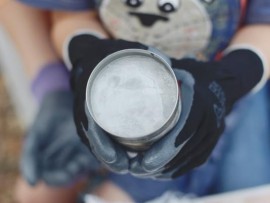
- The night before you are going to do the activity, fill a tin can with water from the pool or water tank and pop this into the freezer. This will prevent the can from being squashed when you pierce it later. (Do as many tins as you want lights.) We used water from the pool in order to recycle water instead of wasting fresh water. You can pop this water back into the pool when you’ve finished the lights.
- Place all the items you will be using on a table outside. Leave the tin cans in the freezer until you are ready to use them.
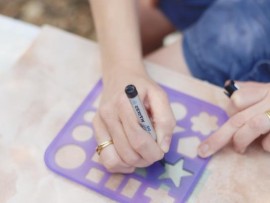
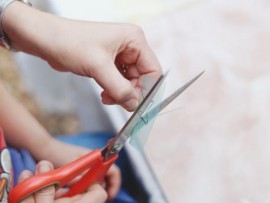
- Draw the desired shape on to the plastic, using a permanent marker. Cut out the shape using a pair of scissors. Remember that an adult might need to assist with both the drawing and cutting.
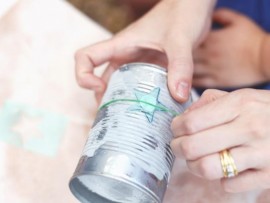
- Place a towel on the table and then put your tin can on top of this, to keep it from slipping. Stick the shape onto the can using the Prestik and the rubber band, then lay the can down on the towel.
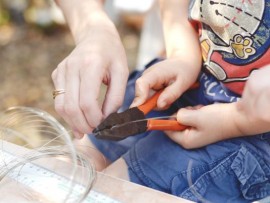
- If you are working with a younger child, ask them to hold the can by the bottom and top ends, so that they can be a part of the activity. They might need gloves to keep their hands warm!
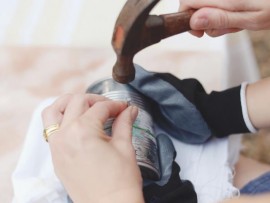
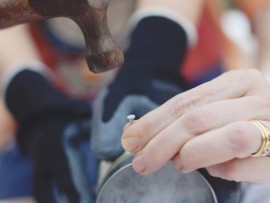
- Hammer the nails into the can to make small holes around the edges and points of your shape.
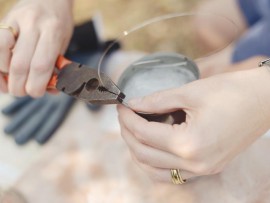
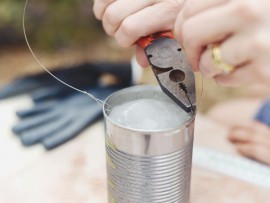
- Once the design is complete, use the nails to make two holes at the rim of the can, one hole on either side of the can.
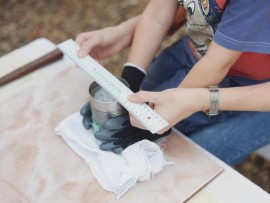
- Measure out 40 cm of your wire and cut it using the pliers. Make a handle for the can with the wire and attach it to these two holes, twisting it to keep it secure. Pliers will help with this.
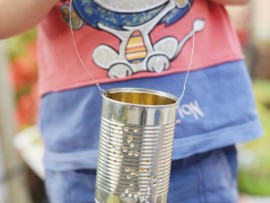
- Light a tea-light candle and place it inside the can.
- Hang your beautiful new lights outside, and enjoy the warm night with your family.


For more information on bringing Life to your Garden, visit our website www.lifeisagarden.co.za or join the conversation on our Facebook page: www.facebook.com/lifeisagardensa.


